

How to navigate a list with arrow keys in vanilla js ?
Learn to navigate a list using arrow keys.


Introduction
Many times we may need to navigate a list using arrow keys. For example, recently I had to make a search suggestion. Where I needed to navigate the results using arrow keys.
It looked simple but to be honest I had no clue how to do it. with a little bit of struggle and with the help of internet I came up with my own solutions, and I'm happy to offer it.
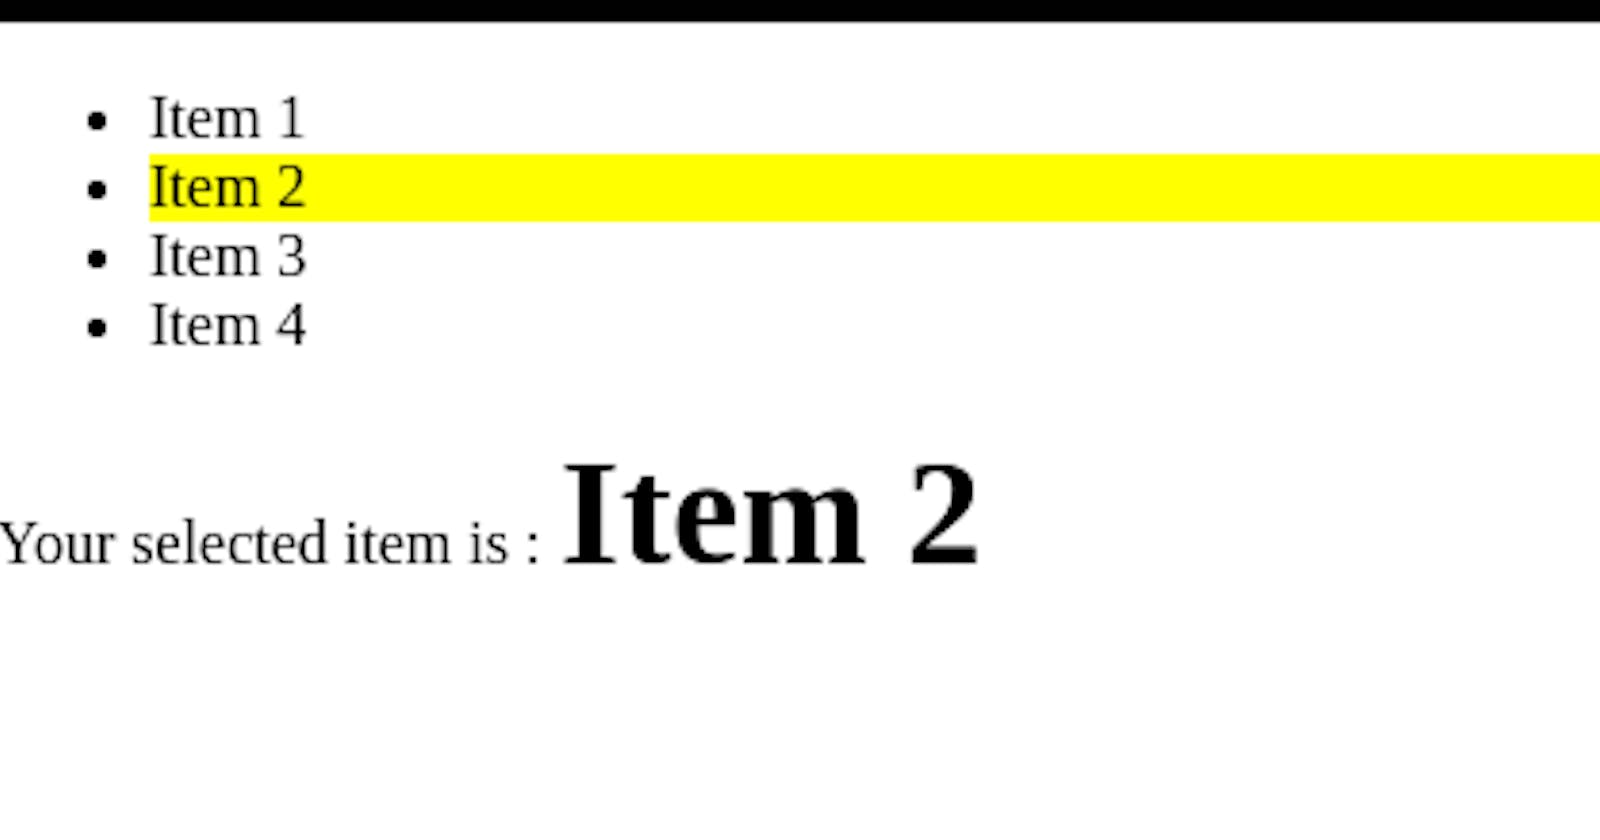
You may have a look at the demo
Html
We have simple list, nothing fancy
<ul id="list">
      <li>Item 1</li>
      <li>Item 2</li>
      <li>Item 3</li>
      <li>Item 4</li>
 </ul>
 <div>Your selected item is :<span id="result"></span></div>
Js
without any further delay. Let's div in understanding the core concept.
Capture the keystrokes.
We have three main keystrokes to capture. downArrowKey, upArrowKey, and enterKey.
document.addEventListener("keydown", (e) => {
  //down key
  if (e.which === 40) {
    console.log("downArrowKey was pressed")
  }

  //upkey
  else if (e.which === 38) {
    console.log("upArrowKey was pressed")
  }

  //Enter key
  else if (e.key === "Enter") {
    console.log("Enter key was pressed")
  }
});
Make use of the index to highlight the items.
We need an index to track the selected item.
if the user presses downArrowKey that means the index goes up from 0,1,2....,
Similarly, when the user press upArrowKey that means the index go down 4,3,2... etc.
document.addEventListener("keydown", (e) => {
  //down key
  if (e.which === 40) {
    index++;
   ul.getElementsByTagName("li")[index].classList.add("selected");
  }

  //upkey
  else if (e.which === 38) {
     index--;
   ul.getElementsByTagName("li")[index].classList.add("selected");
  }

  //Enter key
  else if (e.key === "Enter") {
    console.log("Enter key was pressed")
  }
});
Remove previously highlighted Items.
With the help of the index, we are able to highlight the selected item. However, as we navigate the index with arrow keys. Previously highlighted items remains highlighted. Hence we will make use of the prevIndex variable to remove the highlighted class.
document.addEventListener("keydown", (e) => {
  //down key
  if (e.which === 40) {
    index++;
    prevIndex = index - 1;
    ul.getElementsByTagName("li")[index].classList.add("selected");
    if (prevIndex >= 0)
    ul.getElementsByTagName("li")[prevIndex].classList.remove("selected");
  }

  //upkey
  else if (e.which === 38) {
     index--;
     prevIndex = index + 1;
     ul.getElementsByTagName("li")[index].classList.add("selected");
     ul.getElementsByTagName("li")[prevIndex].classList.remove("selected");
  }

  //Enter key
  else if (e.key === "Enter") {
    console.log("Enter key was pressed")
  }
});
Notice, How prevIndex is index-1 when we are pressing the downkey. However when we are moving upward prevIndex become index+1 because now we are moving upward.
Condition, if we reach the end of the list.
When we reach the last child we have to start over again. Similarly, when we are navigating upwards and if we reach the begining we have to start over from the last child.
document.addEventListener("keydown", (e) => {
  const len = ul.getElementsByTa
  //down key
  if (e.which === 40) {
    index++;
    prevIndex = index - 1;
    //condition for reaching at the end
    if (index > len - 1) {
        index = 0;
        prevIndex = len - 1;
      }
    ul.getElementsByTagName("li")[index].classList.add("selected");
    if (prevIndex >= 0)
    ul.getElementsByTagName("li")[prevIndex].classList.remove("selected");
  }

  //upkey
  else if (e.which === 38) {
     index--;
     prevIndex = index + 1;
    //condition for reaching the beginning.
     if (index < 0) {
      index = len - 1;
    }
     ul.getElementsByTagName("li")[index].classList.add("selected");
     ul.getElementsByTagName("li")[prevIndex].classList.remove("selected");
  }

  //Enter key
  else if (e.key === "Enter") {
    console.log("Enter key was pressed")
  }
});
Enter key (optional)
Incase you click the item and then use arrow key you will have two highlighted items. Enter key will remove the previously highlighted item.
document.addEventListener("keydown", (e) => {
  const len = ul.getElementsByTa
  //down key
  if (e.which === 40) {
    index++;
    prevIndex = index - 1;
    //condition for reaching at the end
    if (index > len - 1) {
        index = 0;
        prevIndex = len - 1;
      }
    ul.getElementsByTagName("li")[index].classList.add("selected");
    if (prevIndex >= 0)
    ul.getElementsByTagName("li")[prevIndex].classList.remove("selected");
  }

  //upkey
  else if (e.which === 38) {
     index--;
     prevIndex = index + 1;
    //condition for reaching the beginning.
     if (index < 0) {
      index = len - 1;
    }
     ul.getElementsByTagName("li")[index].classList.add("selected");
     ul.getElementsByTagName("li")[prevIndex].classList.remove("selected");
  }

  //Enter key
  else if (e.key === "Enter") {
     for (let i = 0; i < ul.getElementsByTagName("li").length; i++) {
      ul.getElementsByTagName("li")[i].classList.remove("selected");
    }
    ul.getElementsByTagName("li")[index].classList.add("selected");
  }
 result.innerHTML = ul.getElementsByTagName("li")[index].textContent;
});
highlighting using click
This Tutorial is about navigating through keys. However users may want to select the item via click hence, we remove any previously highlighted item and highlight the current clicked item.
//if user click on list
ul.addEventListener("click", (e) => {
  for (let i = 0; i < ul.getElementsByTagName("li").length; i++) {
    ul.getElementsByTagName("li")[i].classList.remove("selected");
  }
  e.target.classList.add("selected");
  result.innerHTML = e.target.textContent;
});
And with that our tutorial to navigate through keys have been completed. you may have a look at the complete code here
I hope this tutorial was helpful. Please feel free to leave a comment or connect with me on twitter. You may also directly DM me on twitter for any queries. I'm always willing to help.